Golf Simulator Guide
This post may contain affiliate links. As an Amazon Associate I earn from qualifying purchases.
Our complete golf simulator guide will help you find everything you need to know about setting up a home simulator. We’ll cover the costs, space required, and equipment selection to simplify the process.
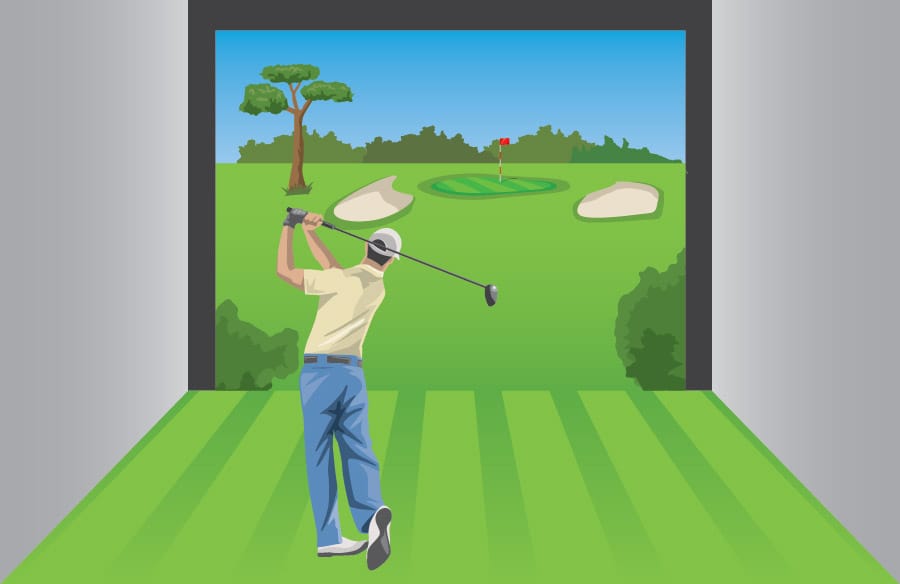
Table of Contents
How Much Does a Golf Simulator Cost
The price of a golf simulator will vary based on what components you select. You can expect a range between $1,500 and $10,000 for an average home setup or up to $20,000+ for a professional-level installation.
Simulator Cost Ranges
The table below gives examples of complete simulator setup costs. The total cost may vary if you already have components (such as a computer) or find used components at a lower price.
| Simulator Type | Realism | Total Cost |
|---|---|---|
| Xbox, Playstation, VR | Video game | $300 – $600 |
| Low-Tier Launch Monitor | Video game-like, real clubs | $1,000 – $2,000 |
| Mid-Tier Launch Monitor | Realistic | $4,000 – $9,000 |
| Pro Launch Monitor | Realistic, extra club data | $12,000 – $16,000 |
| Elite Launch Monitor | Realistic, all club data | $15,000 – $20,000 |
Simulator Component Ranges
Here are some cost ranges for the various components required for a simulator setup.
| Component | Cost |
|---|---|
| Launch Monitor | $400 – $20,000 |
| Software | $0 – $800 |
| Computer | $500 – $2,000 |
| Mat | $600 – $1,200 |
| Screen or Net | $100 – $3,000 |
| Projector (optional) | $700 – $1,000 |
| Extras | $0 – $500 |
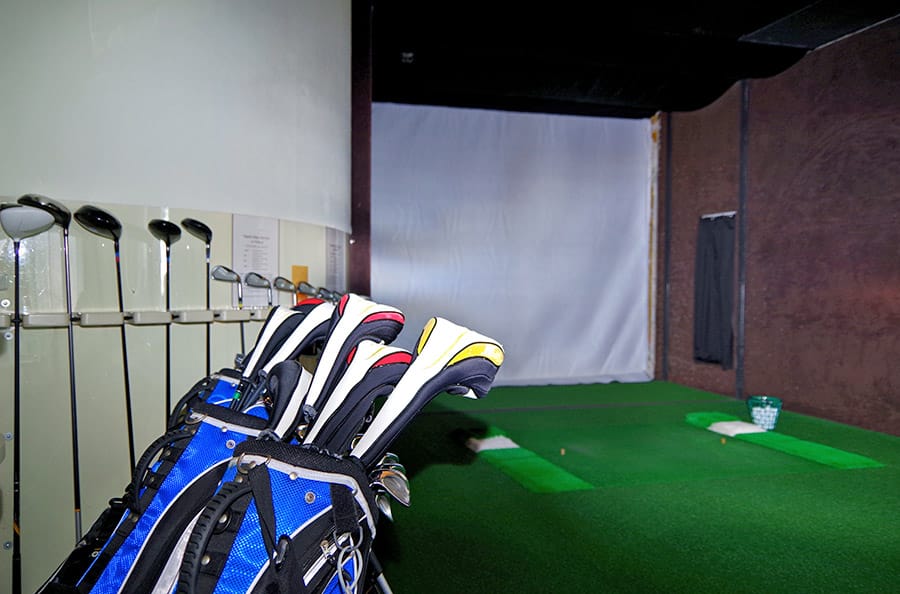
How Much Space Do You Need for a Golf Simulator?
The space required for a golf simulator will vary based on your components, but you’ll need a minimum of 10ft wide x 12ft deep x 9ft high.
Some simulators require 12ft wide x 20ft deep x 9ft high.
Width – You’ll need to accommodate the width of your net and mat. You’ll also need to ensure you can swing comfortably, and many simulators sit in front of you, so you’ll need to accommodate for them as well.
Depth – The depth considers the distance between where you’ll stand and where your net or screen will be. You’ll need to also leave some space between the wall and the net or screen. If you’re using a simulator that sits behind you (such as a Mevo+), you’ll need 18 feet of depth.
Height – Here, you’ll need to account for the height of your screen or net but primarily for the height of your driver or longest iron swing. You can measure this height in your space by (SLOWLY) taking your swing to the top. You don’t want it to be close to the ceiling. Also, make sure you’re accounting for the tallest person that will use your simulator.
Outdoor vs. Garage vs. Home Golf Simulator
Assuming you have the space required, another consideration is whether you’ll have a simulator outdoors, indoors, or a garage simulator.
Indoors
Having your simulator inside means you’ll be able to use it year-round, as your space is already climate controlled. You’ll want to consider the noise created inside, as hitting a driver is very loud. If noise is a concern, you’ll want to ensure your space is away from the main living area, consider sound-dampening options, or plan to play when you aren’t disturbing your family.
Outdoors
Using a simulator outdoors is a great option if you’ve got decent weather most of the year. You’ll need to make sure your launch monitor works well outside and have a place to store it so it’s protected from bad weather. You can leave the rest of your setup out permanently (which may decrease its lifetime) or plan to cover or otherwise store it.
Garage
This can be a great option if you have an extra garage stall or deep garage to permanently keep a net or screen set up. If you want to play year-round, you’ll need to consider climate control in this environment. This might include insulation, heating/cooling, or just a fan.
Choosing a Simulator Launch Monitor
When selecting a launch monitor, there are two primary considerations: price and accuracy. Assuming you’re looking to swing an actual golf club vs playing a video game or VR game, we’ve divided launch monitors into three tiers to help you make a selection.
Low-Tier – Under $1,000
Low-Tier launch monitors don’t have as much club and ball data, leading to inaccuracies or limitations in playing a full simulated round of golf. However, these options are much less expensive and might be a good option if you’re trying to save money.
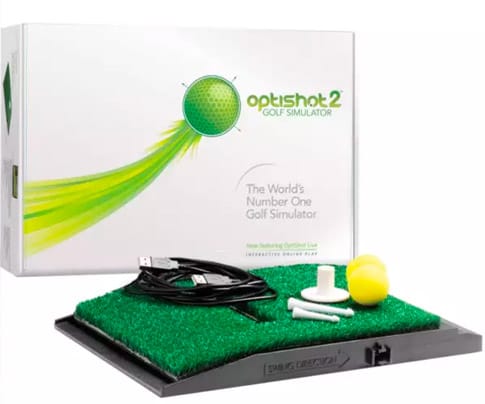
Optishot 2
$400
Pros:
- Comes with 15 golf courses
- Can use real, foam, or no golf ball
Cons:
- Only tracks club, which can be inaccurate
- Only works on Windows PCs
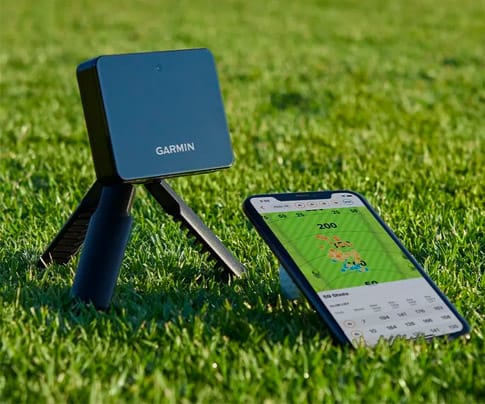
Garmin R10
$600
Pros:
- Thousands of virtual courses are playable on phone
- Works with various sim software packages
Cons:
- Sim software purchased separately
- Good accuracy, but doesn’t track spin well
- It doesn’t allow putting
- Requires a subscription for most features
Mid-Tier – $2,000 – $5,000
Mid-Tier launch monitors are most commonly used at home for those who want to simulate a full round of golf with accurate data.
One of the most common devices in this category is the SkyTrak. It’s what I use at home, and it works great. It reads the ball data with great accuracy and calculates the club data, which I also find accurate. You can read my full SkyTrak review here.
Another mid-tier option, around $2,000, is the Flightscope Mevo+. It’s very similar in tracking to the SkyTrak, though it’s placed behind the golfer requiring more space (at least 16 feet between the device and the net). The advantage is that you won’t need to move the launch monitor when switching between left and right-handed golfers. It also includes a free 5-course version of the E6 simulator software if you use an iPad.
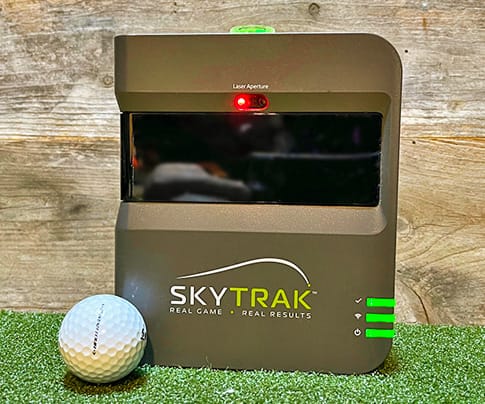
SkyTrak
$2,000
Pros:
- Includes driving range software and pairs with multiple simulator software options
- Saves space with placement at the side of the golfer
Cons:
- Requires subscription and purchase of sim software
- It needs to be moved if you have both left & right-handed golfers
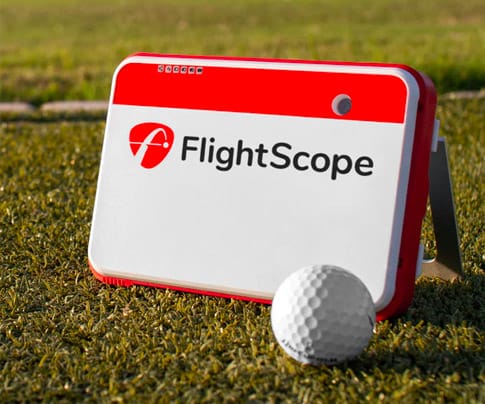
Mevo+
$2,000
Pros:
- Includes 5-course sim software for iPad
- Connects to mobile device camera to sync for recording swing video
Cons:
- Requires at least 16 feet of depth in the room used for simulation
- Requires purchase of sim software if using a PC or to access more courses

Bushnell Launch Pro (Foresight)
$4,000
Pros:
- Built on the Foresight GC3 monitor for great accuracy
- Saves space with placement at the side of the golfer
Cons:
- Requires $500+/yr subscription for simulation (or buy the GC3 at $7,500 which includes the software)
- Needs a PC (vs mobile device) for simulation
Upper-Tier – $5,000+
If you have a large budget, moving into the top-tier launch monitors will get you more types of data and extreme accuracy. This is primarily useful for professionals, club fitters, or if you just want the best of everything.
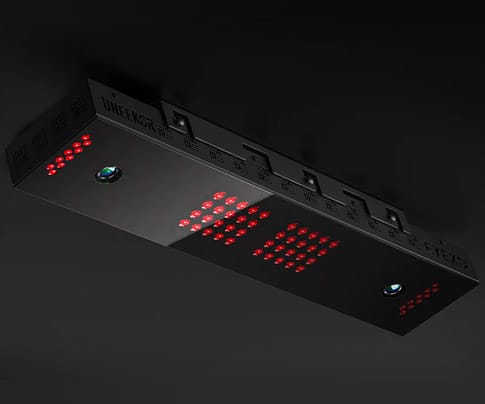
Uneekor QED / EYE XO
$7,000 / $10,000
Pros:
- Mounts to ceiling freeing up space
- Great accuracy and records club impact video
Cons:
- Requires separate purchase of sim software
- Needs 9.5 foot to 10.5 foot ceiling
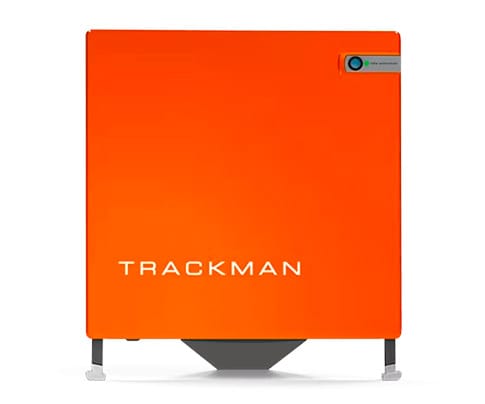
TrackMan
$21,500+
Pros:
- Incredibly accurate
- Used by professional golfers
Cons:
- Extremely expensive
- Requires at least 16.5 feet of depth in the room used for simulation
Choosing Simulator Software
The simulator software you choose to use will be primarily determined by the device you’d like to use (phone, tablet, or PC) and the launch monitor that you purchase.
Here is a table with some software options and a brief description.
| Sim Software | Details | Launch Monitors |
|---|---|---|
| The Golf Club 2019 | Devices: PC Features: Thousands of user-designed courses, driving range, local and online multiplayer, course designer | SkyTrak, Mevo+, Uneekor, Garmin, TrackMan |
| E6 Connect | Devices: PC, iOS Features: 15-94+ pro-designed courses, driving range, mini-games, local and online multiplayer | SkyTrak, Mevo+, Uneekor, Garmin, TrackMan |
| GSPro | Devices: PC Features: 150+ courses, range, challenges, local and online multiplayer, course designer | SkyTrak, Mevo+, Uneekor, Garmin |
| Creative Golf 3D | Devices: PC Features: 15 courses, range, mini-games, local and online multiplayer, more videogame-like than realistic | SkyTrak, Mevo+, Uneekor QED, Foresight |
| OptiShot | Devices: PC, Mac Features: 15 courses, range, mini-games, local and online multiplayer, more videogame-like than realistic | OptiShot |
| WGT Golf | Devices: iOS Features: 12 courses, range, challenges, local single-player | SkyTrak |
| Uneekor Refine | Devices: PC Features: 5-20 courses, range, training, local and online multiplayer | Uneekor |
| FSX 2020 | Devices: PC Features: 110+ courses, range, challenges, local and online multiplayer | Foresight |
| Virtual Golf 2 | Devices: PC Features: 200+ courses, range, challenges, local and online multiplayer | TrackMan |
If you still have options once you’ve narrowed down the list by your device and launch monitor, you’ll find the primary differences are in the price models, the number of courses, and features. These choices are mostly just your personal preference, and I don’t think you can make a bad decision.
I personally chose to purchase The Golf Club 2019 due to the large number of courses available, but I also demoed E6 and thought it would also have been an excellent choice.
Computers & Mobile Devices
To run the simulator software packages, you’ll need a computer or mobile device. In most cases, this is a Windows gaming PC or an iPad. Each software package has different requirements, but any modern gaming laptop or desktop PC with a good video card will generally work.
Selecting a Golf Mat
Golf mats vary in thickness and size. If you’re a picker (i.e. pick the ball off the surface without taking a divot), you might get away with a thinner mat, but otherwise, you’re risking potential injury hitting into a thin mat. You might also have a little more flexibility with a thinner mat if you have carpeting or other softer surface below it.
If you’re looking to save money, you can also purchase a small section of thicker mat (typically called a hitting strip), and cut that into a cheaper mat.
Thicker mats feel more like hitting into real turf and are easier on the wrists and elbows as you hit into them and take a divot. They’re a larger investment but worth the cost in the long term.
GoSports Golf Mat
$100 – $200
Pros:
- Mounts to ceiling freeing up space
- Great accuracy and records club impact video
Cons:
- Requires separate purchase of sim software
- Needs 9.5 foot to 10.5 foot ceiling
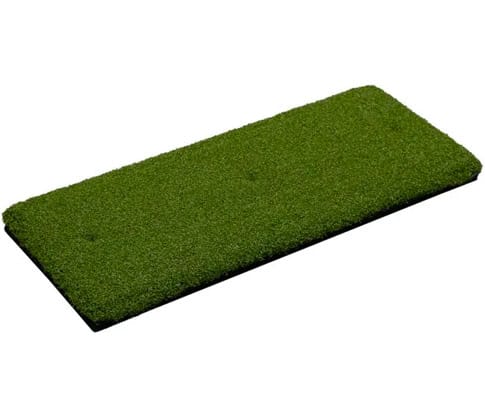
Carl’s Golf Mat Insert
$35
Pros:
- Inexpensive way to replace worn turf
- Forgiving and easy on joints
Cons:
- Needs to be fitted into an existing mat
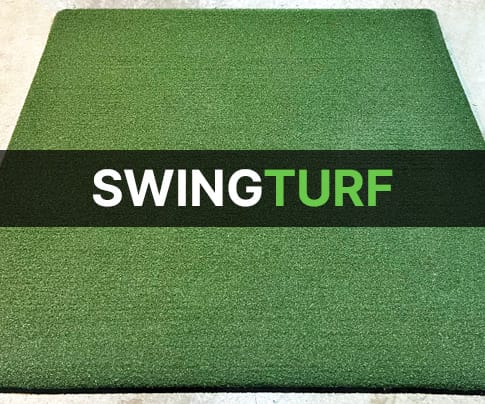
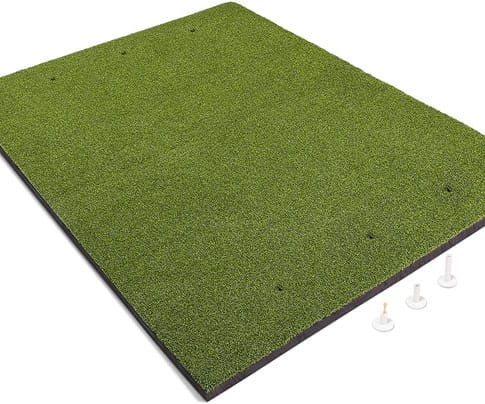
SwingTurf
$580 – $800
Pros:
- Forgiving and easy on joints
- Holds a real golf tee
- Long-lasting
Cons:
- Mats can’t match real turf
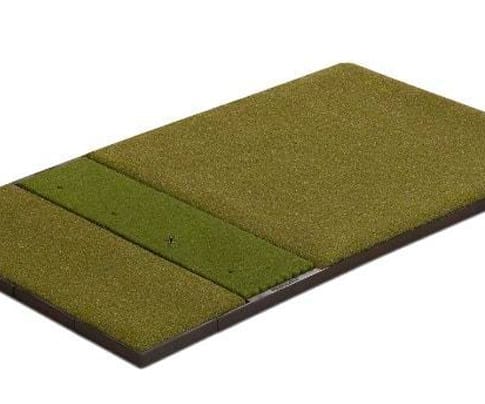
Fiberbuilt
$460 – $1,200+
Pros:
- Large-size mats with hitting strips
- Long-lasting
- Company with great reputation
Cons:
- Can be more expensive
Impact Screens vs. Nets
There are two categories to choose between for hitting enclosures. You can choose to have a net or an impact screen. Impact screens will cost slightly more but are necessary if you plan on using a projector (even if you add a projector in the future). A net is a better option for outdoor simulators or if you’re not going to use a projector.
Nets
Nets can vary from fairly cheap to more expensive. The main difference is the quality of the netting and how many shots it can withstand, and the sturdiness of the frame. If you’re going with a permanent setup using a net, you might consider a higher-quality option.

Rukket Golf Nets
$100 – $200
Pros:
- Easy to setup and take down
- Good quality netting
Cons:
- Frame isn’t as strong as more expensive models
- Can be dangerous to use indoors without side netting
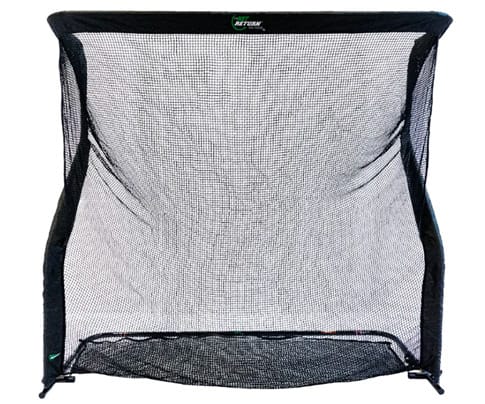
Net Return Golf Nets
$700 – $800
Pros:
- Excellent quality netting
- Strong structure
- Lightweight enough that it can be moved
- Screen material can be added for future projection
Cons:
- Slower to setup and take down
Impact Screens
An impact screen may appear similar to a regular projector screen; however, the material is much stronger to prevent ripping when impacted with a golf ball. Within this category, you can choose to build your own enclosure by purchasing screen material and buying piping, buying a retractable screen, or purchasing a permanent enclosure.
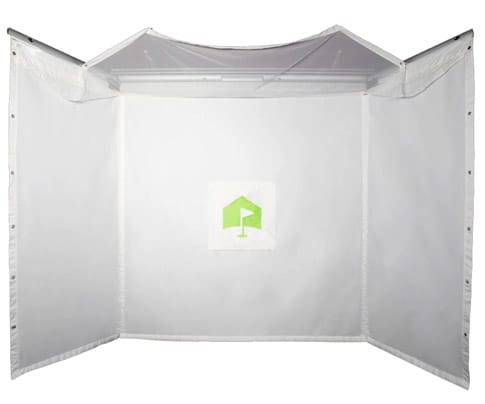
Swingbay Enclosure
$3,300 – $3,500
Pros:
- Quality materials
- Professional appearance
Cons:
- Expensive
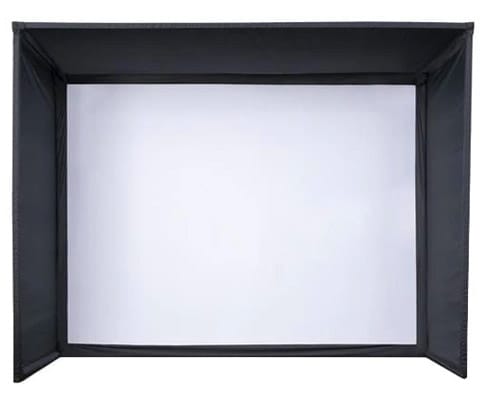
Retractable Simulator Screen
$2,100 – $2,300
Pros:
- Retracts to clear space in home or garage
- Strong material and sides
Cons:
- Expensive vs DIY
- Needs to be installed at 8′ from ground
Projectors
There are man projectors that will work in a simulator setup, but you’ll want to look specifically at short-throw projectors. Otherwise, you’re going to be creating a shadow when standing between the projector and the screen. Then you’ll want to check the quality of the projection and make sure the ratio matches your screen. You can use a throw distance calculator for this.
You’ll also need to purchase a projector mount to mount to the ceiling, or you can purchase a floor enclosure to project a floor-mounted projector.
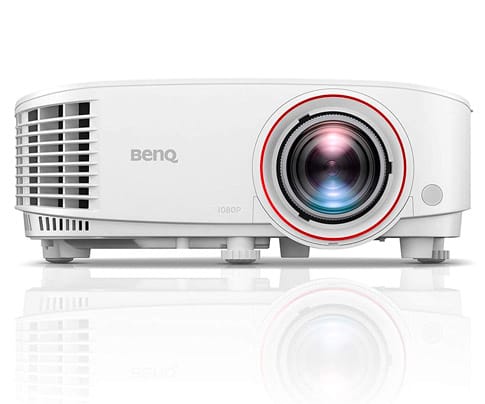
BenQ TH671ST 1080p Short Throw
$800
Pros:
- 1080p quality
- Fast refresh rate
Cons:
- Not as bright as some projectors

Optoma EH412ST Short Throw Projector
$1,500
Pros:
- 1080P Quality
- High brightness works well for brighter rooms
Cons:
- Expensive
Conclusion
Hopefully, this golf simulator guide helped you understand how to build out your own simulator and realize how wide the range of options is. It’s probably easiest to start with what price range you’re willing to pay and then work from there.
If you’re flexible on the price but want a good-quality simulator, I’d suggest starting with a mid-tier setup and going from there. You can even purchase a full-simulator setup from some of the links above to make things easier.
I personally wanted something fairly inexpensive that works for both golf simulation and improving my swing. I chose to go with a SkyTrak, SwingTurf mat, and a Net Return Pro. I’m running The Golf Club 2019 on a gaming laptop connected to an old TV in my garage. It works great for my needs, though I may eventually invest in a projection setup.
FAQ
A golf simulator is a complete setup that allows you to hit a golf ball in a simulated range or golf course. This setup includes a launch monitor as one of its components to capture the golf shot data. Not all launch monitors are suitable for a simulator, as some only have a numerical display without connecting to any software.